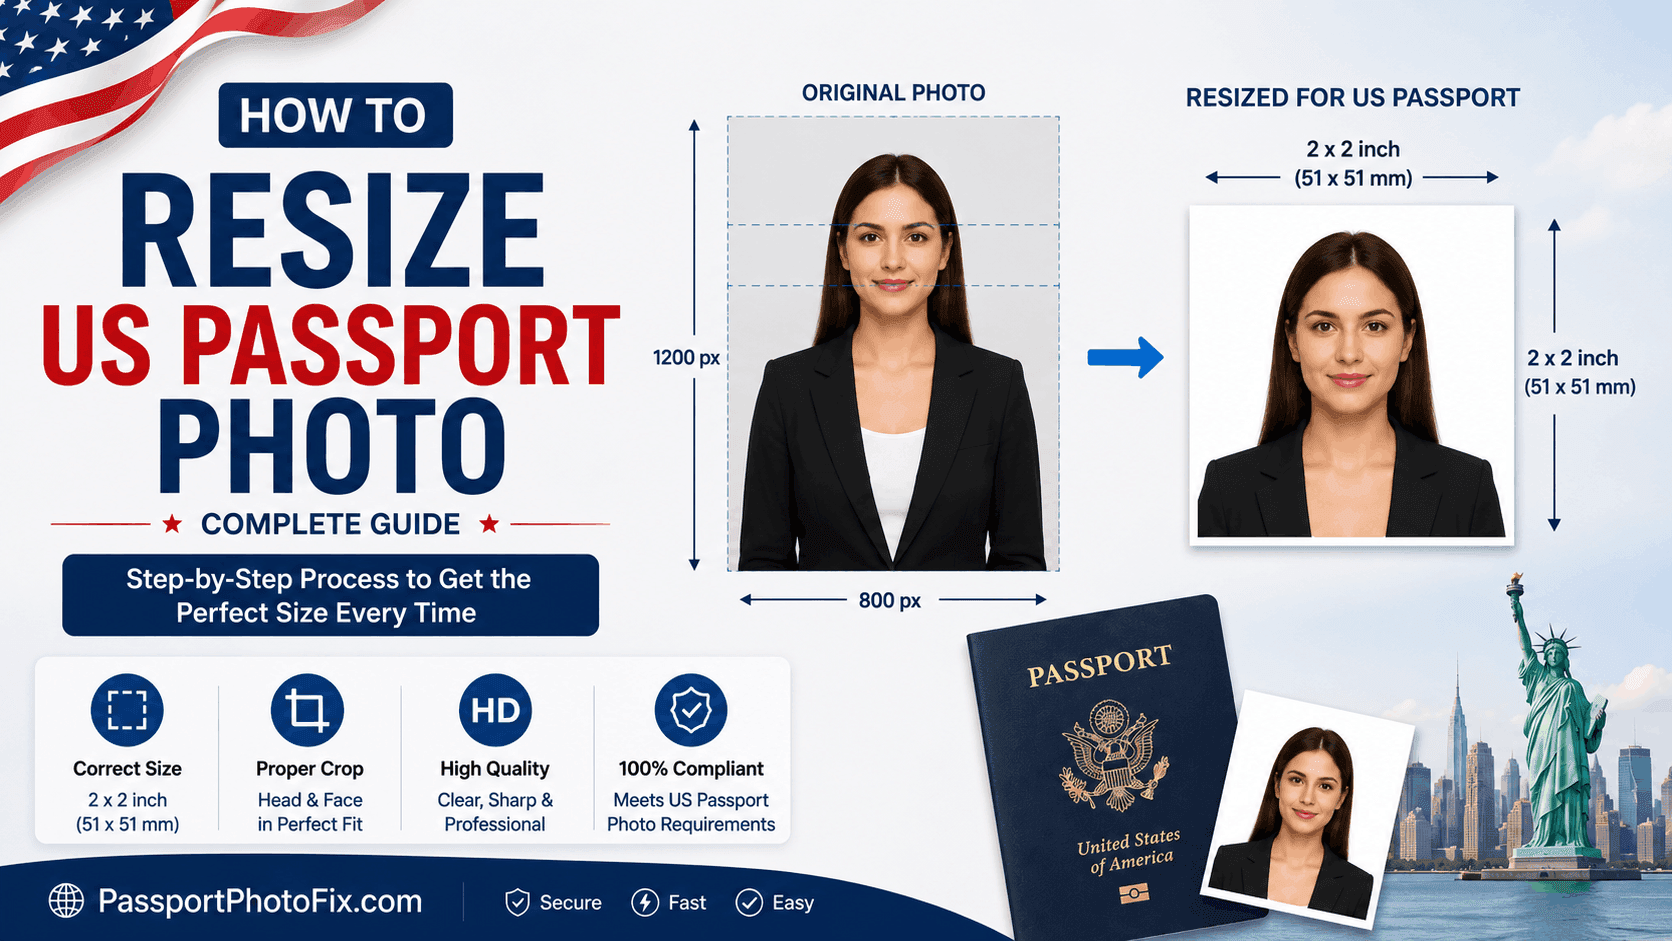
How to Resize a US Passport Photo (Free, No Studio Needed)
Getting your passport photo rejected is one of the most frustrating reasons for a delayed application - and it's almost always because of the size, background, or file format, not the photo itself. Here's exactly what's required and how to get it right.
US Passport Photo Requirements
- Size: 2 x 2 inches (51 x 51mm), or 600 x 600px for a digital upload
- Background: Plain white or off-white, no shadows or patterns
- Expression: Neutral, both eyes open - no smiling, no glasses
- Recency: Taken within the last 6 months
Step 1: Take the Photo
You don't need a studio. Stand about 4-5 feet from a plain white or light-colored wall, face the camera directly, and use natural light from a window if possible - avoid harsh overhead lighting that creates shadows. A regular phone camera works fine.
Step 2: Resize It to the Exact Specification
This is the step most people get wrong. Even with a good photo, it needs to be cropped to exactly 2x2 inches with your face correctly positioned and sized within that frame, then exported at the right file size.
You can do this manually in photo editing software if you're comfortable with precise pixel measurements - or use a free tool like PassportPhotoFix to do it automatically: upload your photo, and it crops, resizes, and checks the file size against the official requirement, entirely in your browser.
Step 3: Double-Check Before You Submit
Before submitting your application, compare your finished photo against the official requirements on the U.S. Department of State's website. Requirements can be updated, so it's worth a quick check even after using a tool.
Common Mistakes to Avoid
- Wearing glasses (generally not accepted anymore)
- Using a photo older than 6 months
- A background with shadows, texture, or another person visible
- Cropping too tight or too loose around the face
Getting this right the first time saves you a resubmission and the delay that comes with it.